Azure AI is a suite of AI services and tools from Microsoft that enables businesses to build, deploy, and manage intelligent applications. Its benefits include enhancing productivity, automating tasks, improving decision-making, and providing innovative solutions across various industries.
What can you do with Azure AI and Profit.co integration?
- You can use AI to assist in drafting and setting OKRs efficiently.
- It Automatically generates concise summaries of OKR Progress, saving time and ensuring clarity.
- It Quickly generates summaries of tasks, making it easier to track progress and understand task details at a glance.
- Use AI to offer valuable insights and suggestions in comment sections, improving the quality of interactions.
- It helps to generate concise summaries of both self-assessments and manager assessments, facilitating better understanding and decision-making.
Note: The customer is advised to refer to Microsoft documentation to create the AI services as needed, as this does not fall within Profit.co’s scope.
To Integrate Azure AI with Profit.co follow the below steps:
Step 1
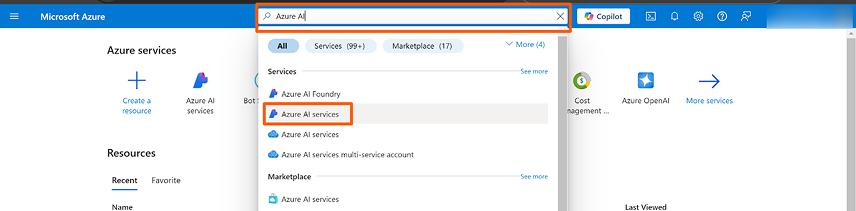
Open OpenAi’s Website, https://portal.azure.com/.
Search “Azure OpenAI” in the search option and choose the Azure AI services from the drop-down menu.
Step 2
Under the Azure AI Service page, select your resource from the list of available resources. Click on your resource.
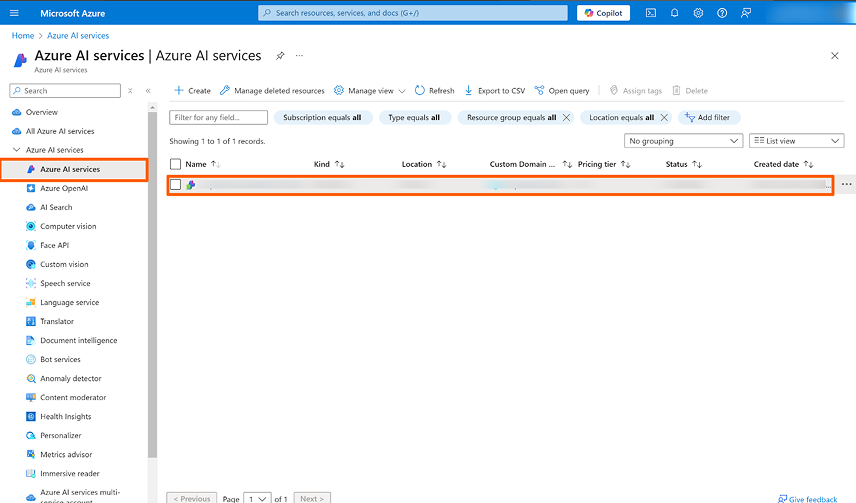
Under your resource, select “Keys and Endpoint” in the left menu. Get API Key from KEY1 and API Endpoint URL from Content Understanding Tab

Step 3
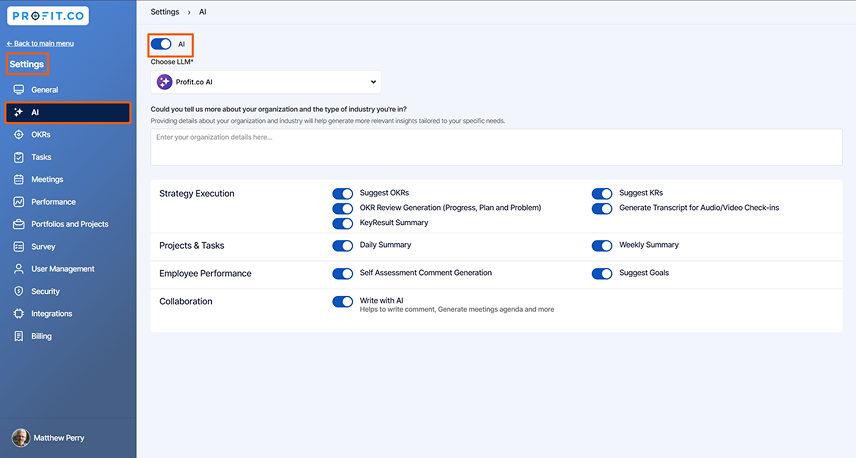
In your Profit.co Admin account, Navigate to the Settings → AI from the left navigation panel.
Enable the AI Toggle.
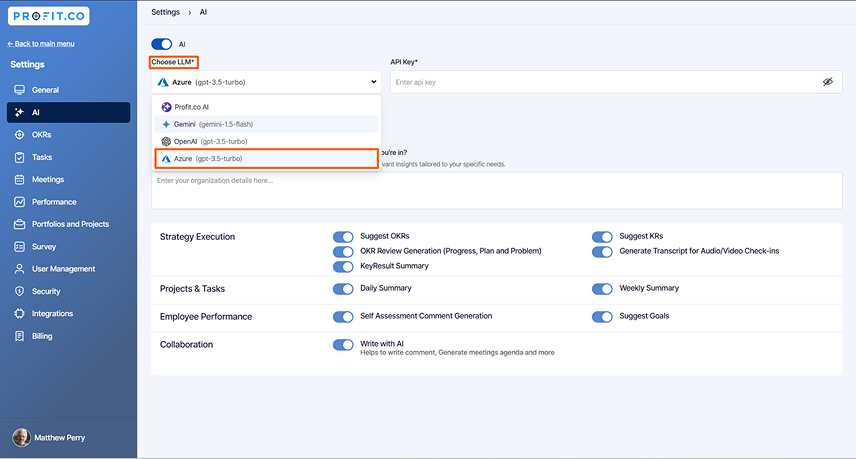
Under the Choose LLM option select the Azure (GPT-3.5-turbo) option.
Step 4
Enter the API Key and Endpoint. The system will validate the key.
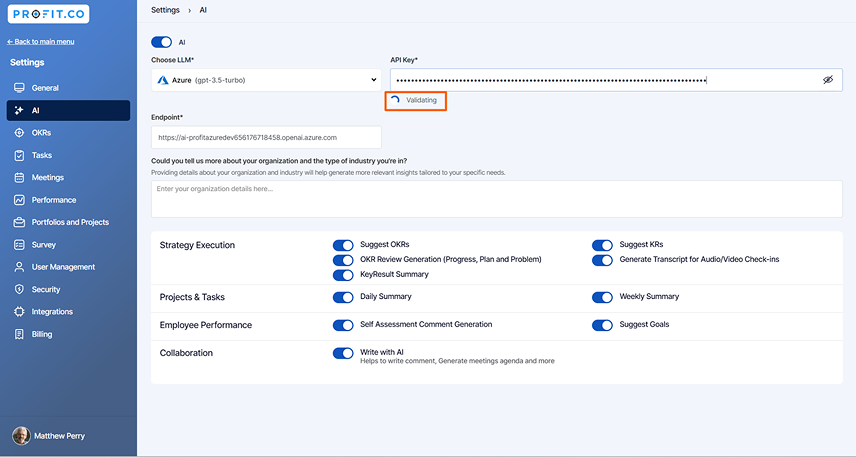
Once the validation is complete, the system will display Verified.
