Planview PPM Pro helps businesses get out of managing projects in complex spreadsheets or tools so they can gain visibility into all work and resources. It provides the ability to collect, prioritize, and execute projects so that PMOs can focus their resources on the work that delivers the most value.
What you can do with Planview PPM Pro and Profit.co Integration?
Integrate Planview PPM Pro with Profit.co’s Objective and key result to automate your OKR check-ins.
Configure Planview PPM Pro in Profit.co
Note: Only Super Users can be able to configure the Profit.co <> Planview PPM Pro Integrations.
Step 1:
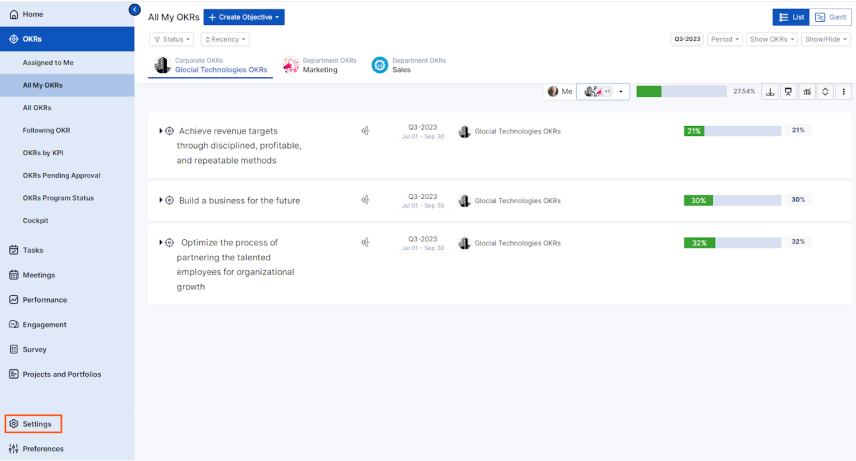
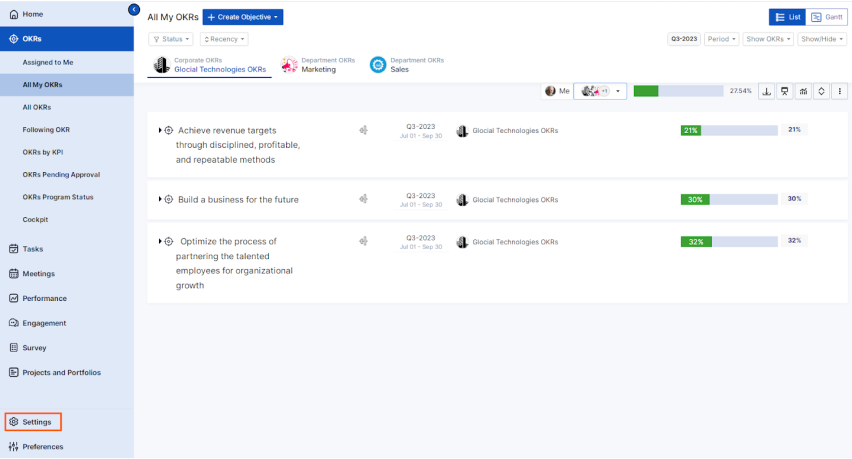
Navigate to Settings from the left navigation panel.
Click on Integrations, On the Connectors page, Select the Business Level tab and click on the Planview PPM Pro Manage button.
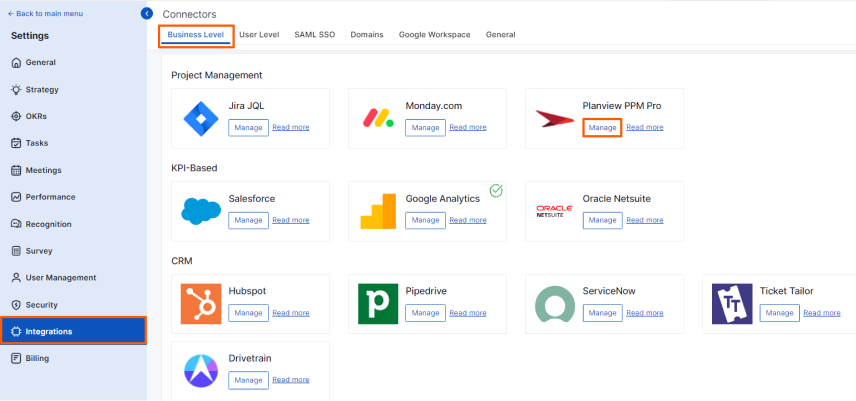
Then click the Connect to Planview PPM Pro button.

Enter the Connection Name and required details and click on Connect button to successfully configure the Planview PPM Pro Integration connection.

To Integrate your Objectives follow these steps:
Step 2:
Create an Objective Using Form by clicking on the + Create Objective button in Profit.co where you want to integrate the Planview PPM Pro in an Objective.
In the Objective Creation page, to link a project with the particular objective, click on the Edit button of the Planview PPM Pro.

On the Connect to Planview PPM Pro page, select the desired Connection Name and the Project. A list of Milestones will appear for the selected project and you can select the required milestones and click Create.

The selected Milestones will be created as a Key Result for the Objective.

To Integrate your Key Result follow these steps:
Step 3:
Now Create a key result Using the Form in Profit.co where you want to integrate the Planview PPM Pro in a key result.
Note: Planview PPM Pro supports Percentage Tracked Key Result type.
Choose the Percentage Tracked Key Result type. and KPI. Select Automate Check-in and choose Planview PPM Pro from the Connection dropdown.
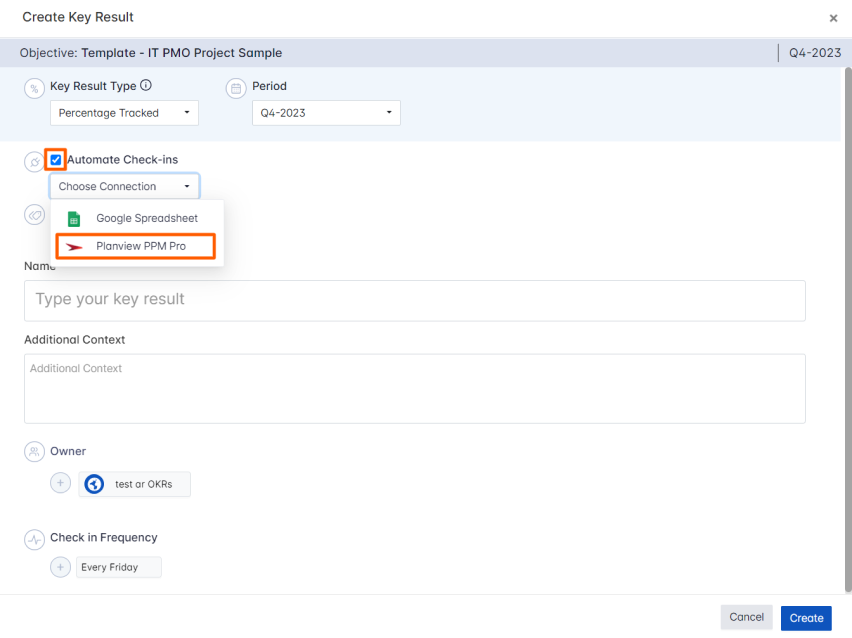
On the Connect to Planview PPM Pro tab, Choose your Connection Name. You can choose either the Project or Task.
If you select Project, choose the desired Project. A list of Milestones will appear for the selected project and you can select the required milestones and click Create.

Once the Key Result is successfully created, click on the Check-in button and complete the Check-in to update the status value in the key result.

Note: When sub-key results are created you will not be able to progress your key results; the progress of the key results will depend on the progress of the sub-key results.
Similarly, if you select Task, choose the desired Task and it will be linked to the Key Result and click Update.
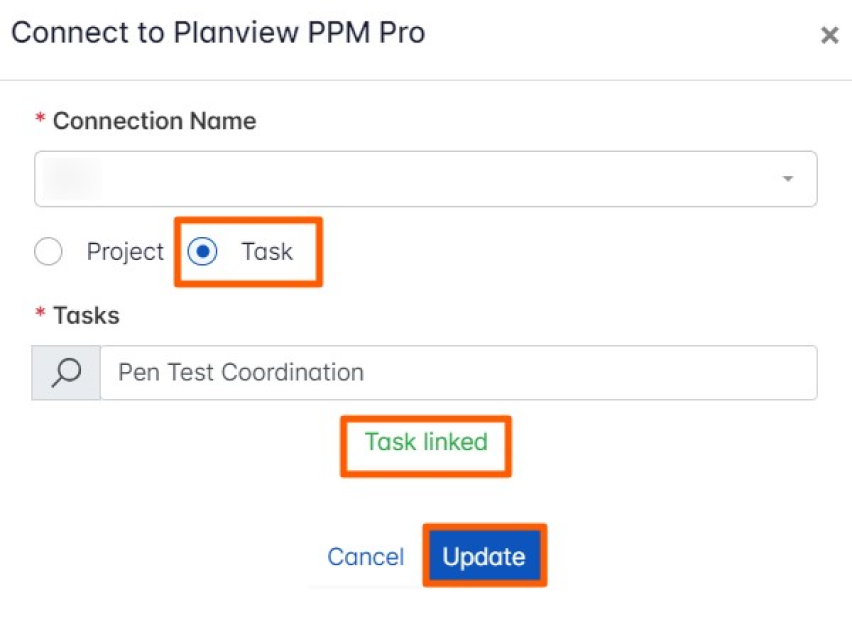
The Key Result will be created Successfully.

Note:
- The progress of the Task Linked Key Result will depend on the progress of the Task.
- The automatic check-in will happen every day at 09.00 AM based on the user region.